When you’re wiring up a system, be it a solar bank, an RV battery setup, or marine electronics, your connections aren’t just a detail. They’re the backbone. A loose or poorly crimped connection can lead to voltage drop, heat buildup, or worse, total system failure.
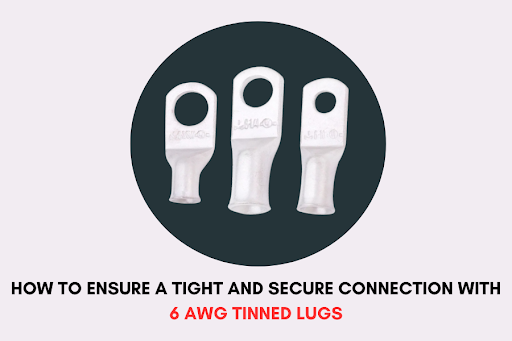
That’s why 6 AWG tinned lugs are popular among DIYer and professionals working on mid-sized power systems. Even high-quality lugs like Selterm’s only come out as good as your install. So, let’s take a moment to run through how to get that crimped tight, secure connection every time, without guesswork or shortcuts.
Why 6 Gauge Tinned Lugs?
6 AWG wire is a sweet spot, thick enough to carry substantial current (up to 55-65 amps depending on the application), yet flexible enough for RVs, boats, golf carts, and off-grid solar builds.
Pairing it with 6 gauge tinned lugs gives you:
- Corrosion resistance (thanks to the tin-plated copper)
- Excellent conductivity
- Compatibility with most battery terminals and grounding points
And when you’re working in environments with heat, moisture, or vibration, tinned copper lugs simply outperform bare copper over time.
Step-By-Step: How To Get That Rock-Solid Connection
1. Choose The Right Lug For The Job
Start by matching your wire gauge (6 AWG) and the terminal stud size. Selterm offers various stud sizes like 1/4”, 5/16”, and 3/8” to fit most applications.
Make sure you’re choosing UL-listed lugs, Selterm’s 6 AWG tinned lugs are tested and trusted for both residential and mobile power systems.
Pro Tip: If you’re working in a high-moisture area (like a boat or under the hood), pair your lug with heat shrink tubing for added protection.
2. Strip The Wire Cleanly
Use a sharp wire stripper to remove just enough insulation, about the same length as the lug barrel. Avoid nicking the copper strands. A clean strip ensures full conductivity and makes crimping smoother.
No frayed ends. No exposed copper past the lug barrel. You want a clean fit.
3. Insert The Wire Fully Into The Lug
Push the stripped end all the way into the lug barrel until it stops. You should be able to see the copper wire through the inspection window (if your lug has one). This tells you the wire is seated properly and ready to be crimped.
4. Crimp Like You Mean It
This is the make-or-break step. Use a professional-grade crimp tool, not pliers or makeshift methods.
- Use a hex crimp or indent crimp style tool rated for 6 AWG.
- Apply pressure evenly until the crimp tool locks or you feel it fully compress.
A weak crimp = weak connection. A strong crimp = consistent power, minimal resistance.
For heavy-duty installs (like battery banks), consider a hydraulic crimping tool to ensure full barrel compression.
5. Seal It With Heat Shrink (Optional But Recommended)
Slide over a piece of dual wall heat shrink tubing before you crimp, or if you’re using Selterm’s open-barrel lugs, apply it after. Heat it evenly with a heat gun until it shrinks tightly and you see a bit of adhesive ooze out. That’s the seal.
This step:
- Prevents corrosion
- Adds mechanical strain relief
- Makes your work look professionally finished
Real-World Use Cases For 6 AWG Tinned Lugs
If you’re wondering where this size and type of lug really shines, here are some popular examples:
- Solar Panel Battery Banks: Common for interconnects between batteries and inverters
- RV Power Systems: Connects batteries to distribution panels or fuse blocks
- Marine Wiring: Withstands saltwater environments and vibration
- Off-Grid Cabins: Long cable runs from panels to controller to battery
- Golf Carts & E-Bikes: Clean, low-resistance connections for power transfer
No matter the setup, the goal is always the same: max current, zero fuss.
Common Mistakes To Avoid
Even experienced DIYers mess this up sometimes. Watch out for:
- Using the wrong lug size (fit matters!)
- Crimping with the wrong tool or not applying enough pressure
- Skipping heat shrink on outdoor installs
- Leaving excess wire exposed beyond the lug
- Twisting the wire before inserting (this can reduce contact)
Stick to the steps above, and you’ll avoid these pitfalls easily.
Final Thoughts: Small Part, Big Impact
In any power system, a bad connection can cause real problems, from low performance to total failure. But with quality 6 AWG tinned lugs and the right tools, you’re setting your system up for long-term success.
Selterm’s 6 gauge tinned lugs are built to handle the job, whether it’s a DIY weekend project or a serious install. Crimp them right, seal them tight, and you’ll never have to worry about that connection again.


